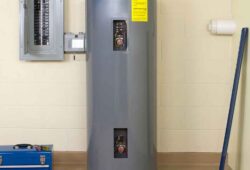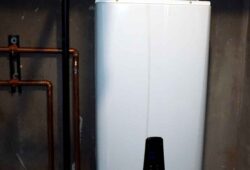
Regular maintenance of your water heater is essential to ensure its efficiency and longevity. One of the most important tasks is flushing the water heater to remove sediment buildup. This guide will walk you through the process of how to flush a water heater, ensuring your system remains in top working condition. Whether you’re a DIY enthusiast or just looking to understand the process better, this step-by-step guide will help you perform a water heater flush effectively.
Why Flushing Your Water Heater is Important
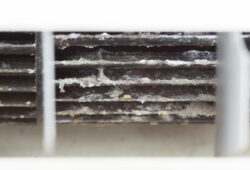
Over time, sediment and mineral deposits from your water supply can accumulate at the bottom of your water heater tank. This buildup can reduce the efficiency of your heater, increase energy costs, and even cause damage to the unit. Regularly performing a water heater flush helps remove these deposits, ensuring your heater runs smoothly and efficiently.
Tools and Materials Needed
Before you begin, gather the following tools and materials:
- A garden hose
- A bucket
- Protective gloves
- Safety goggles
- A towel or rag
- A flathead screwdriver
Step-by-Step Guide to Flushing Your Water Heater
1. Turn Off the Water Heater
For electric water heaters, turn off the power at the circuit breaker. For gas water heaters, set the thermostat to the “pilot” setting. This step is crucial to prevent any risk of burns or electrical shocks during the process.
2. Turn Off the Cold Water Supply
Locate the cold water supply valve at the top of the water heater and turn it off. This valve controls the flow of water into the tank, and turning it off will prevent more water from entering while you flush the system.
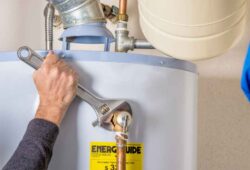
3. Connect the Garden Hose
Attach one end of the garden hose to the drain valve at the bottom of the water heater tank. Place the other end in a bucket or direct it to a suitable drainage area outside your home. Be sure the hose is securely connected to avoid leaks.
4. Open the Drain Valve
Carefully open the drain valve using a flathead screwdriver. Allow the water to flow through the hose and into the bucket or drainage area. The water may be hot, so use caution and wear protective gloves and goggles.
5. Open the Pressure Relief Valve
To help the water flow more freely, open the pressure relief valve at the top of the tank. This valve releases pressure inside the tank and allows air to enter, which helps the water drain faster.
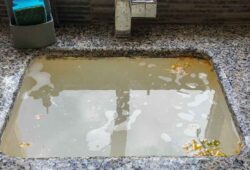
6. Flush the Tank
After the initial water has drained, turn the cold water supply back on for a few minutes. This will help stir up any remaining sediment at the bottom of the tank and flush it out. Continue to let the water run until it appears clear and free of debris.
7. Close the Valves
Once the water runs clear, close the drain valve and remove the garden hose. Close the pressure relief valve and make sure both are securely tightened to prevent leaks.
8. Refill the Tank
Turn the cold water supply back on and allow the tank to refill. It’s a good idea to open a hot water faucet in your home to let any air trapped in the lines escape. Once water starts flowing steadily from the faucet, you can turn it off.
9. Restore Power or Gas Supply
For electric water heaters, turn the power back on at the circuit breaker. For gas water heaters, set the thermostat back to your desired temperature. Allow the water heater to heat up, and check for any leaks around the drain valve and pressure relief valve.
Tips for Maintaining Your Water Heater
- Perform Regular Flushes: Aim to flush your water heater at least once a year, or more frequently if you have hard water.
- Check the Anode Rod: The anode rod helps prevent corrosion inside your tank. Inspect it annually and replace it if it’s significantly corroded.
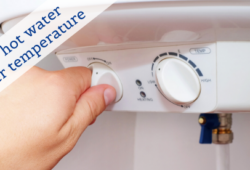
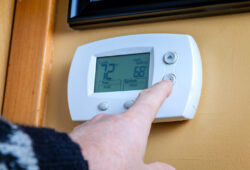
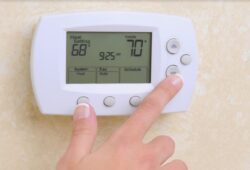
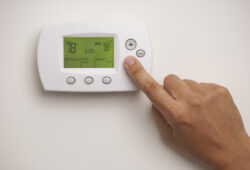
- Monitor Water Temperature: Keeping the thermostat set to 120°F can help prevent scalding and reduce energy usage.
- Insulate the Tank: Adding an insulation blanket to your water heater can improve its efficiency, especially if it’s located in an unheated space.
Common Issues and Troubleshooting
While flushing your water heater, you may encounter some common issues:
- Slow Drainage: If the water drains slowly, sediment buildup may be significant. Turn the cold water supply on and off a few times to help break up the sediment.
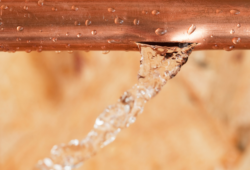
- Leaking Drain Valve: If the drain valve doesn’t close completely after flushing, you may need to replace it.
- No Hot Water: After flushing, if you don’t get hot water, check to ensure the power or gas supply is restored and the thermostat is set correctly.
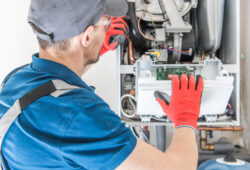
When to Call a Professional
While flushing your water heater is a task you can typically handle on your own, there are times when professional help is needed. If you notice persistent issues such as frequent sediment buildup, leaks, or inconsistent water temperature, it’s best to contact a professional plumber.
Call Preferred Home Services For Your Water Heater Needs
Performing a water heater flush is an essential maintenance task that can extend the life of your unit and improve its efficiency. By following this step-by-step guide on how to flush a water heater, you can ensure your system remains in optimal condition. However, if you encounter any issues or prefer professional assistance, don’t hesitate to contact Preferred Home Services.
For all your water heater needs, from maintenance and repairs to new installations, Preferred Home Services is here to help. Contact us today to schedule an appointment and ensure your home’s plumbing system runs smoothly!