Serving Charleston & Greenville Areas
Trusted by 7436+ Customers
How to Stop a Toilet From Running

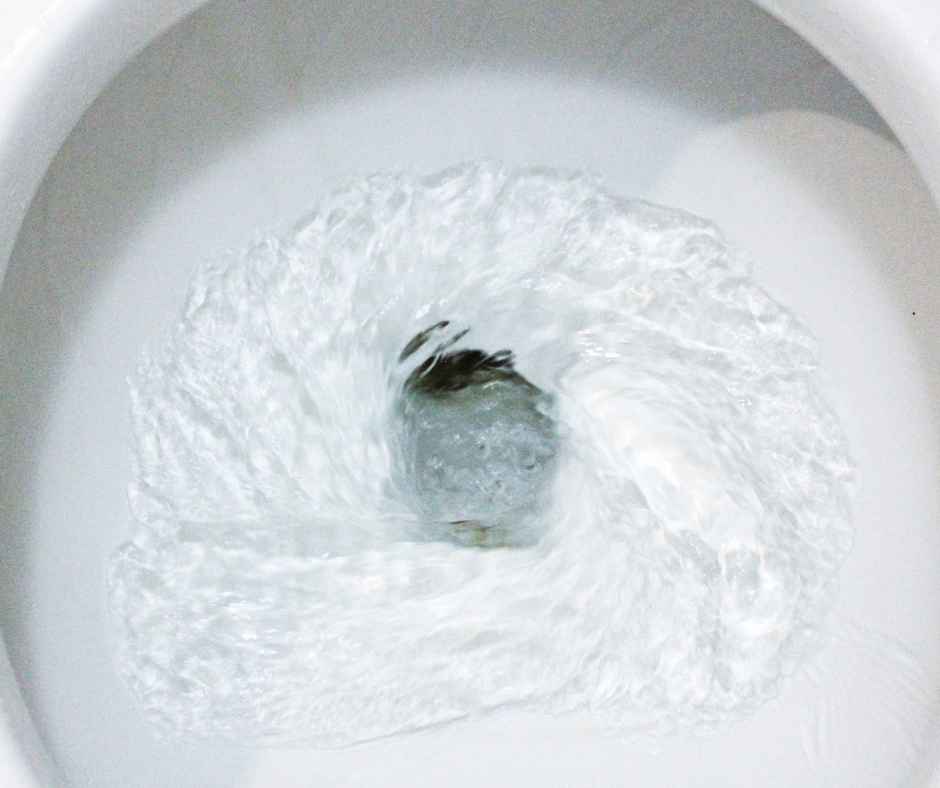
A running toilet can be a significant annoyance, wasting water and driving up your utility bills. Learning how to stop a toilet from running is an essential skill for homeowners. In this guide, we’ll cover the common causes of a running toilet and provide step-by-step instructions on how to stop a running toilet effectively. Whether you’re dealing with a minor issue or a more complex problem, these tips will help you resolve the issue and prevent it from happening again.
Common Causes of a Running Toilet
Understanding the root cause of your running toilet is the first step in fixing it. Here are some common reasons why your toilet won’t stop running:
- Faulty Flapper: The flapper is a rubber valve at the bottom of the tank that controls the flow of water to the bowl. If it doesn’t seal properly, water will continuously flow into the bowl.
- Chain Problems: The chain connecting the flush handle to the flapper can get tangled or broken, preventing the flapper from sealing correctly.
- Float Issues: The float regulates the water level in the tank. If it’s set too high or too low, it can cause the water to keep running.
- Fill Valve Problems: The fill valve controls the water flow into the tank. If it’s malfunctioning, it can cause continuous water flow.
- Overflow Tube Issues: If the water level is set too high, it can spill into the overflow tube and keep the toilet running.
Step-by-Step Guide to Stopping a Running Toilet
Now that you know the common causes, let’s dive into how to stop a running toilet. Follow these steps to diagnose and fix the issue:
1. Turn Off the Water Supply
Before you start, turn off the water supply to the toilet. Locate the shutoff valve behind the toilet and turn it clockwise until it stops. This will prevent water from flowing into the tank while you work.
2. Inspect the Flapper
Remove the tank lid and check the flapper. If it’s worn out, cracked, or not sealing properly, it needs to be replaced. To replace the flapper:
- Drain the Tank: Flush the toilet to drain most of the water from the tank.
- Remove the Old Flapper: Disconnect the chain from the flush handle and unhook the flapper from the overflow tube.
- Install the New Flapper: Attach the new flapper to the overflow tube and connect the chain to the flush handle. Ensure the chain has a slight slack but isn’t too loose.
3. Adjust the Chain
If the flapper looks fine, check the chain connecting it to the flush handle. If the chain is too tight or too loose, it can prevent the flapper from sealing properly. Adjust the chain length so it has about 1/2 inch of slack.
4. Check the Float
The float controls the water level in the tank. If it’s set too high, water will continuously flow into the overflow tube. To adjust the float:
- Identify the Type of Float: There are two common types of floats—ball floats and cup floats.
- Adjust a Ball Float: Bend the arm of the float downward to lower the water level.
- Adjust a Cup Float: Look for an adjustment screw on the fill valve. Turn the screw clockwise to lower the water level.
5. Inspect the Fill Valve
If the float adjustments don’t solve the problem, the fill valve might be the issue. Here’s how to check and adjust the fill valve:
- Check the Valve: Make sure the fill valve is securely attached and functioning correctly. If it’s loose or damaged, tighten or replace it.
- Adjust the Valve: If the water level is too high, use the adjustment screw to lower it. If the fill valve is old or damaged, consider replacing it with a new one.
6. Examine the Overflow Tube
Ensure the water level in the tank is below the top of the overflow tube. If the water level is too high, it will continuously flow into the tube and keep the toilet running. Adjust the float or fill valve to lower the water level.
Additional Tips for Maintaining Your Toilet
- Regular Inspections: Periodically check the components inside your toilet tank to ensure they are in good condition.
- Replace Worn Parts: Flappers, fill valves, and other parts can wear out over time. Replace them as needed to prevent running toilets.
- Check for Leaks: Regularly inspect the base of your toilet for leaks. A leaking toilet can waste a significant amount of water and cause damage to your flooring.
- Adjust Water Levels: Keep an eye on the water level in the tank and adjust the float or fill valve if necessary.
When to Call a Professional
While many running toilet issues can be fixed with DIY methods, some problems require professional assistance. If you’ve tried the steps above and your toilet still won’t stop running, it may be time to call a plumber. Persistent issues, unusual noises, or multiple component failures are signs that you need expert help.
Call Preferred Home Services For Toilet Troubles
Learning how to stop a toilet from running can save you water, money, and frustration. By following the steps outlined in this guide, you can diagnose and fix common issues that cause a running toilet. Regular maintenance and prompt repairs will keep your toilet functioning efficiently.
If you need professional assistance or prefer not to tackle the repair yourself, contact Preferred Home Services for all your toilet repair needs. Our experienced technicians are ready to help you with any plumbing issues. Reach out to us today to schedule an appointment and ensure your toilet runs smoothly and efficiently!